Come On Up To The House

June 18, 2015
by Ashley
0 comments

Pizza Roll

Here is a play off of a calzone. I was trying to come up with something different, yet awesome for our picnic dinner last week and thought of this little beauty.


image

image

Pizza Roll

1 roll Pizza Dough
1/4 cup onion
16 pepperoni
3 tbsp tomato paste
1/2 tsp garlic
1/2 tsp basil
1/2 cup shredded mozzarella
Olive Oil

Preheat oven to 450°F. Roll out pizza dough into a rectangle. Place onions in a line along the lower middle of the dough (see picture). Top with pepperoni and then cheese. Finish with tomato paste sprinkled with garlic & basil and then drizzle olive oil. Fold over dough and cinche sides so closed. Pop in the oven for 15 minutes. Check to see if browned on top…bake longer if needed. I was intending to cut this into rolls, but ended up cutting in half and wrapping the halves in foil to stay warm. I served this with pizza sauce to dip. I will definitely make this again.


June 17, 2015
by Ashley
0 comments

Homemade Mac ‘n Cheese

I have made this mac n’ cheese for many years now. My kids seem to love it and it is a little better than a boxed version. I use any type of pasta I want and flax seed to thicken it.

image

Homemade Mac n’ Cheese

8 oz cooked pasta
1/2 cup 2% milk
2 tbsp milled flax seed
5 sliced american cheese

I cook the pasta and drain while I make the cheese sauce. My kids love american cheese (I should use mild cheddar but they don’t like the stringiness of it). Pour in the milk into sauce pan and add in the cheese. You can use a little more cheese if it doesn’t seem cheesy enough. Stir slowly together over medium heat and wait for cheese to melt. Add in flax seed to thicken sauce. Add in cooked pasta. Serve.

I usually thrown in a handful of frozen peas with the pasta cooking to add something green. If you have leftover baby food you need to use up…this is a great application for it as well. Use less milk and add in babyfood veggies and meat mixtures. Then add cheese. You can probably skip the flax seed if it is thick enough.

June 14, 2015
by Ashley
0 comments

Chocolate Pudding

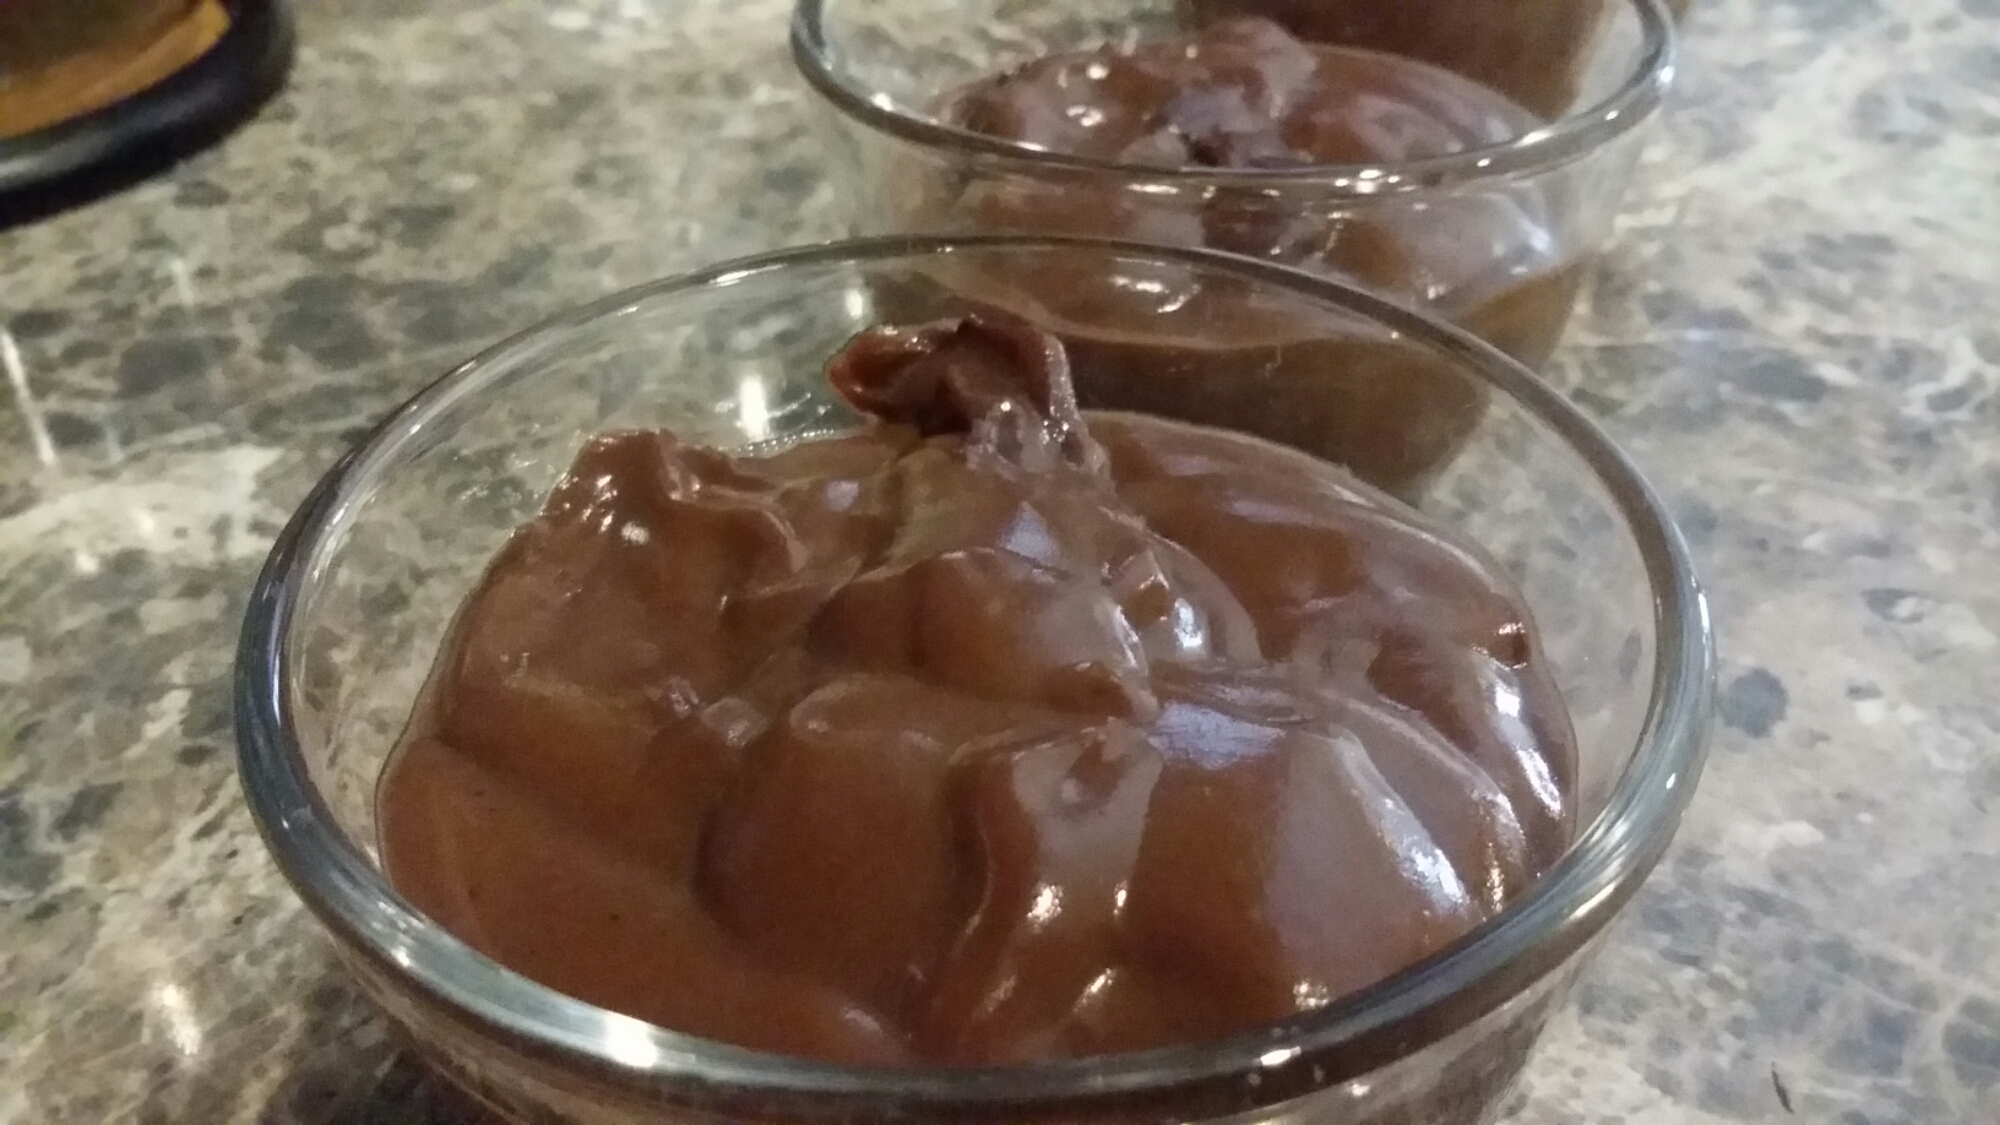
Isla is my little sugar hound. She loves to eat sweets, play making sweets and even to pretend eating sweets. So she has been “making pudding” for days. She says she is mixing the ingredients and brings me a princess cup with a baby spoon and pretend pudding ready to eat.

Since she has been playing “pudding” for so many days, I decided to make some for her. We are planning on going on a picnic dinner with some friends at a local brewery, so I thought that the pudding would be a great dessert for the kids. I have these really handy silicone tubes for just this type of thing.

image

Isla helped make the pudding and really wanted a picture with the tubes we are going to put it in.

image

Almost done!

image

Our extra pudding, leftover after filling our silicone tubes.

Chocolate Pudding

1 cup sugar
1/2 cup baking cocoa
1/4 cup cornstarch
1/2 tsp kosher salt
4 cups 2% milk
2 tbsp butter
2 tsp vanilla extract

In a large sauce pan with high sides, whisk together sugar, cocoa, cornstarch and salt. Slowly add in milk and turn on heat. Constantly whisk until pudding comes to a full boil. Let boil for 2 minutes and turn off heat. Add in butter and vanilla; whisk together until well incorporated. Carefully pour into serving dishes and let cool. If you don’t like the hard skin on the top of pudding, you may put plastic wrap over touching the tops of the pudding.

June 12, 2015
by Ashley
0 comments

Homemade Lemonade

Lemonade is one of those things the kids beg for in the summer. It is also super easy to make, if you have the lemons. I can’t seem to find a good frozen lemonade that doesn’t have high fructose corn syrup…except for one at Trader Joe’s. I really like the taste of homemade lemonade the best.

image

Lemonade

1 cup water
1 cup sugar
2/3 – 3/4 cup fresh lemon juice (about  4 – 5 lemons)

4 cups water
3 cups ice

In a small sauce pan, heat up the 1 cup water and 1 cup sugar to make a simple syrup. Once the sugar has been desolved, take off the heat and let cool. Squeeze lemon juice from lemons into a pyrex measuring cup. This way you know how much juice you are getting and can measure correctly. Combine juice and simple syrup in a pitcher and add ice and additional 4 cups of water.

I like my lemonade a little less tart, so I use less juice. You can add up to 1 cup of lemon juice to your taste.

Enjoy the summer!

June 11, 2015
by Ashley
0 comments

Maple Chocolate Chili Nuts

It is time for more nut recipes again! I am trying to come up with some healthy snacking options for us, so decided to try some new flavored nuts.

This is one that I found online, and used different nuts and a little more maple than suggested. Here is my version yet you can find the original recipe at the link below.

image

Maple Chocolate Chili Nuts

3 tablespoons brown sugar
2 tablespoon pure maple syrup, Grade B for baking
2 teaspoon unsalted butter, melted
2 cups pecans, almonds and/or walnuts
1 teaspoon cocoa powder
1 teaspoon chili powder
½ teaspoon chipotle powder
½ teaspoon kosher salt

Mix everything but the nuts together. Toss with the nuts and then spread out on a baking sheet covered with a silpat or greased. Bake at 350°F for 8 minutes. Toss nuts and bake another 5 minutes. Pull out of oven and let cook on sheet before moving them.

Found original recipe at http://www.healthyseasonalrecipes.com/chocolate-chili-spiced-pecans/

June 3, 2015
by Ashley
0 comments

Greek Yogurt

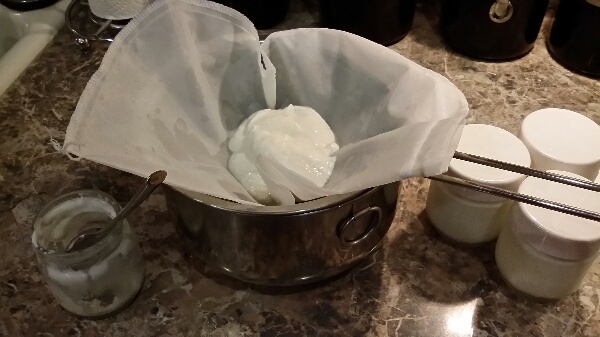
We make our yogurt quite often, but you can do this with store bought yogurt as well.

image

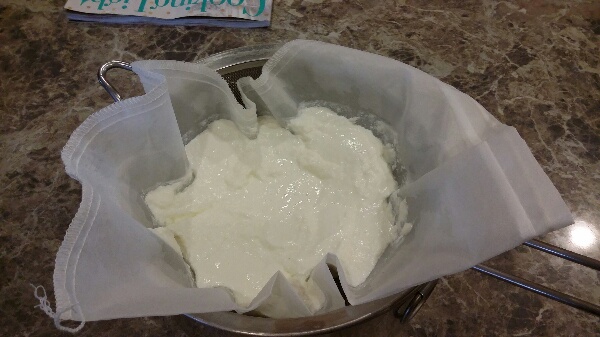
Line a paper towel or cheese cloth over a large sieve. Set the sieve in as large bowl. Pour the yogurt into the lined sieve and set back into the fridge. Let sit for at least 2 hours. The longer you let it sit, the thicker it will become. The “water” that drains off will be greenish. This is the whey. You can use it in smoothies if you wish, but I usually end up throwing it away.

image

The remaining yogurt I put into a container and cover. This can be used in many different ways. Dressings, dips, replacing sour cream… or just eaten as is with a little honey or jam.

June 2, 2015
by Ashley
0 comments

Brussel Sprout & Veggie Soup

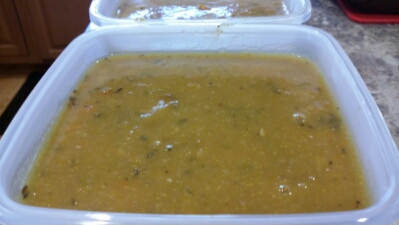
My latest creation. I was going to make a Kale & Turkey Soup…and ended up making this instead. When I start a soup for lunch, usually I have a plan in mind, or everything that is in the fridge gets added. This is one of those types of soups. Everything must go, but must be good as well. If you don’t have one of the ingredients below, feel free to substitute.

image

Brussel Sprout & Veggie Soup

1 tsp olive oil
1 1/2 cups frozen brussel sprouts, deforsted & chopped
8 carrots, peeled & chopped
3 potatoes, peeled & diced
2 onions, chopped
5 garlic cloves, minced
2 cups white beans, cooked
6 cups water
2 tbsp chicken base or 4 bouillon cubes
1 tbsp beef base or 2 bouillon cubes
1 tbsp oregano
1 tbsp parsley
2 tsp thyme
1 tbsp red wine vinegar
salt & pepper to taste

Peel & chop all ingredients. Add brussel sprouts through beans into dutch oven and saute for 10 minutes. Add in vinegar and cook another 1 minute. Add in everything else and let come to a boil. Take out about half of the soup (making sure to get the big chunks) and puree. Add back to soup and return to a boil. Cool and serve with a drizzle of olive oil.

June 1, 2015
by Ashley
0 comments

Breakfast Portabellas

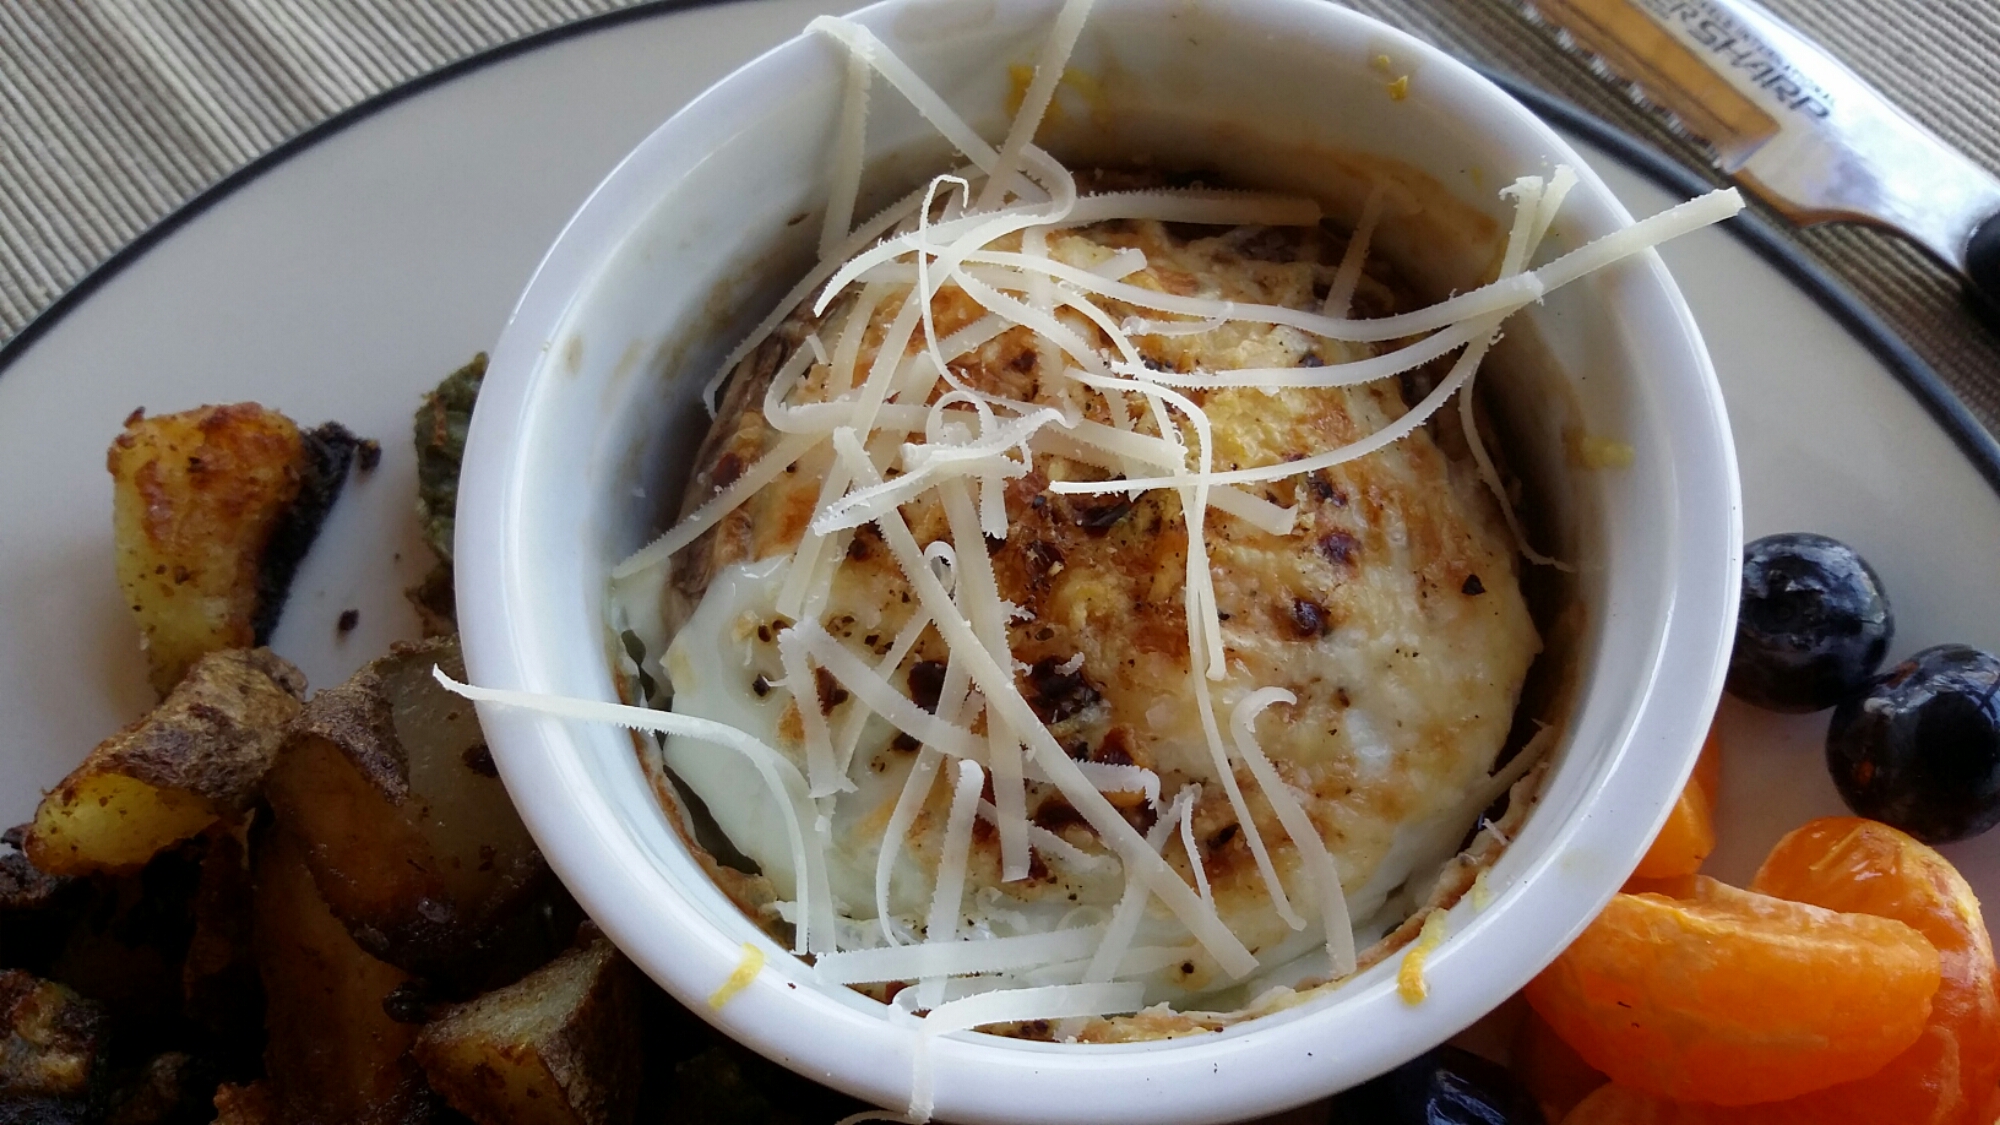
Sometimes breakfast can get a little repetitive. My kids would like to eat pancakes or crepes everyday. They don’t seem to get sick of it. But I am a person who need variety. Even if a recipe has the same exact ingredients, I will rather have it plated in a different way then the same everytime. I have also been trying to cut down on the amount of bread I consume. Not completely, because bread is one thing I can’t live without, but just not at every single meal. I came up with these recently, trying to use up what was in the refridgerator and they turned out really well.

Portabella Stuffed with Baked Egg

2 portabella caps
2 tbsp water
2 eggs
salt & pepper to taste
3 tsp shredded parmesan

image

To help baking time, I precooked the portabella in a saute pan with a little water covered for about 3 minutes. Just to soften the mushroom. Then transfer it to a baking dish and crack an egg in the portabella. Salt & pepper to taste. Place in the oven on a rack 6 inches down and broil on high. Check frequently. The egg cooks in about 5 minutes. Shred a little parmesan on the top and you have a fancy breakfast.

May 21, 2015
by Ashley
0 comments

Rice Pudding

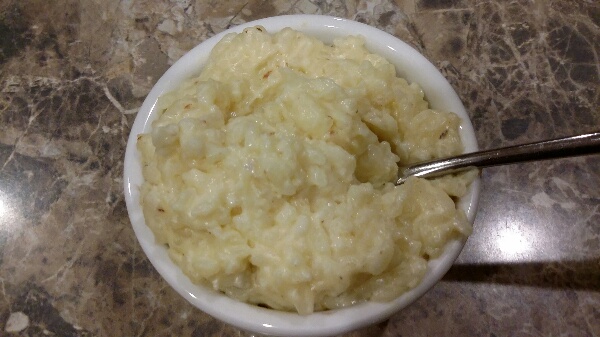
Tonight I made extra rice with dinner, with rice pudding in mind. I told the kids that I would make a delicious breakfast rice pudding, and they told me they won’t be eating it. Too bad for them! This time my rice pudding turned out really well. Very thick, and custardy. Not too runny or sugary. Give it a try and let me know what you think. We are going to serve it in the morning with some brandied Door County cherries we have been slowly eating this winter.

image

Rice Pudding

4 cups Arborio rice
4 cups 2% milk
1/3 cup sugar
1/2 cup nonfat dry milk
1/4 tsp kosher salt
2 large eggs, beaten
1 tsp vanilla

Combine rice, milk, sugar, dry milk and salt in a large sauce pan and bring to a simmer. Simmer until thick, about 30 minutes.

In a small mixing  bowl, whisk eggs and vanilla together. Gradually add a couple of heaping spoonfuls of rice into eggs while whisking constantly. You don’t want the eggs to cook. Once you have about 6 spoonfuls of hot rice mixture added to the eggs, pour the egg mixture in with the rest of the rice, stirring constantly. Keep stiring for two minutes. Remove from heat. It is ready to eat or reserve in the refrigerator for the next morning.

May 19, 2015
by Ashley
0 comments

Airy Knit Cowl

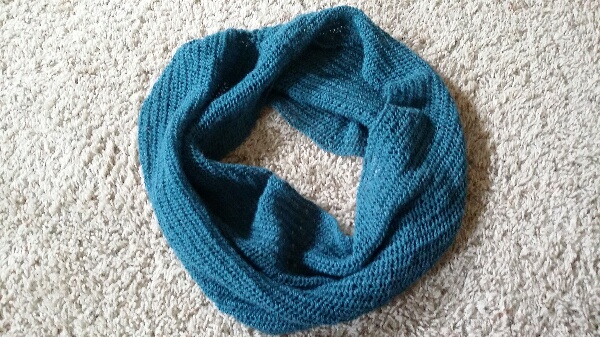
I love making presents for friends and family. I usually have really good intentions and attempt to make more than humanly possible. But once in a while, I will get my knit projects done in time. I made a cowl for my sister-in-law with this an easy stitch and a lightweight yarn. My intention was for it to be worn in the summer, but after I was finished it was a little heavier. She was excited to be able to wear it to work where she is cold all of the time.

I started it out thinking I would leave it long like a scarf, but then decided to connect the ends into a cowl shape.

image

Here is the scarf pattern I based this cowl off of called The Open Air Wrap. I cut down the size of the scarf by half since I wasn’t using the silk that was recommended. Turned out really well and was really easy to knit. Only thing that seemed difficult was if you dropped a stitch, you would have to back track and it is hard to figure out how to pick it back up.