I had planned on making more menus of my day in food to remind myself of what eating within my points is like. I have a relative that has asked me several times to create a menu for them and I have made only one. Here is another menu from my day yesterday.
Snack – Red wine, 1 vanilla meringue cookie from Trader Joe’s and two coconut almonds (7 points)
Total points eaten 26. There were 4 more points left for the day but I decided not to consume them. I am trying to make up for a lot of fun (but bad eating) days that happened this summer.
1 cup Arborio Rice
4 cloves garlic, minced
1 cup onion, diced
3 ribs celery, diced
2 tsp olive oil
4 cups chicken stock
½ cup white wine
In a stock pot, bring chicken stock to a boil. Turn on low and keep warm.
In a saute pan with high sides, saute the garlic in the olive oil until lightly brown on medium low heat. Add in the onion and celery and sauce for about a 1 minute. Add in the rice and stir. Add in the wine and let reduce until wine has almost disappeared. About 1 – 2 minutes. Stir in one laddle of stock at a time. Let the stock soak into the rice until almost a creamy look and then add another laddle of stock in, until the stock in gone. This will take anywhere from 20 – 30 minutes.
Add in any additional flavorings that you desire. Mushrooms (with the celery & onions), spinach before the last laddle of stock, fresh herbs, shrimp, chicken etc. Be creative. My favorite version is spinach, basil and shrimp.
I have made these several times and each time am amazed at how easy they are. I have stuffed them with different things each time. Sometimes strawberries and whipped cream, sometimes nutella. So many options!
Eclair
2 eggs
2 egg whites
1 tsp sugar
⅛ tsp kosher salt
1 cup All Purpose flour
2 tbsp butter
1 cup water
Preheat the oven to 450°F. Prepare cookie sheet with a silpat or grease it.
In a sauce pan, combine the butter and water. Bring to a boil, stirring until the butter melts. Reduce to low heat and add the flour and salt. Stir mixture constantly until the dough begins to form a stiff ball. Remove from heat. Add in the eggs one at a time, beating well to incorporate them. With a spoon or pastry bag, pipe the dough onto the cookie sheet into 4 inch strips.
Bake 15 minutes in preheated oven and then reduce the heat to 325 for 20 minutes. Eclairs are done once golden browned a hollow sounding once tapped. Cool completely before eating.
You can fill with puddings, frostings, jams, fruit etc.
Make 10 Eclairs for 3 points per pastry not counting fillings.
16 oz fresh mushrooms
½ cup onion, diced
2 cups carrot, diced
¾ cup celery, diced
3 cloves garlic, minced
1 tsp dried thyme
10 cups Chicken Broth
1/3 cup Pearl barley
Serves 6 for 1 point each serving.
In a sauce pan, add in mushrooms with 1 cup of broth to start cooking. Let reduce while mushrooms cook down. Add in carrots, celery and garlic and let simmer for 5 minutes. Add in the rest of the ingredients and let cook for 30 minutes. Check to see if barley is cooked through.
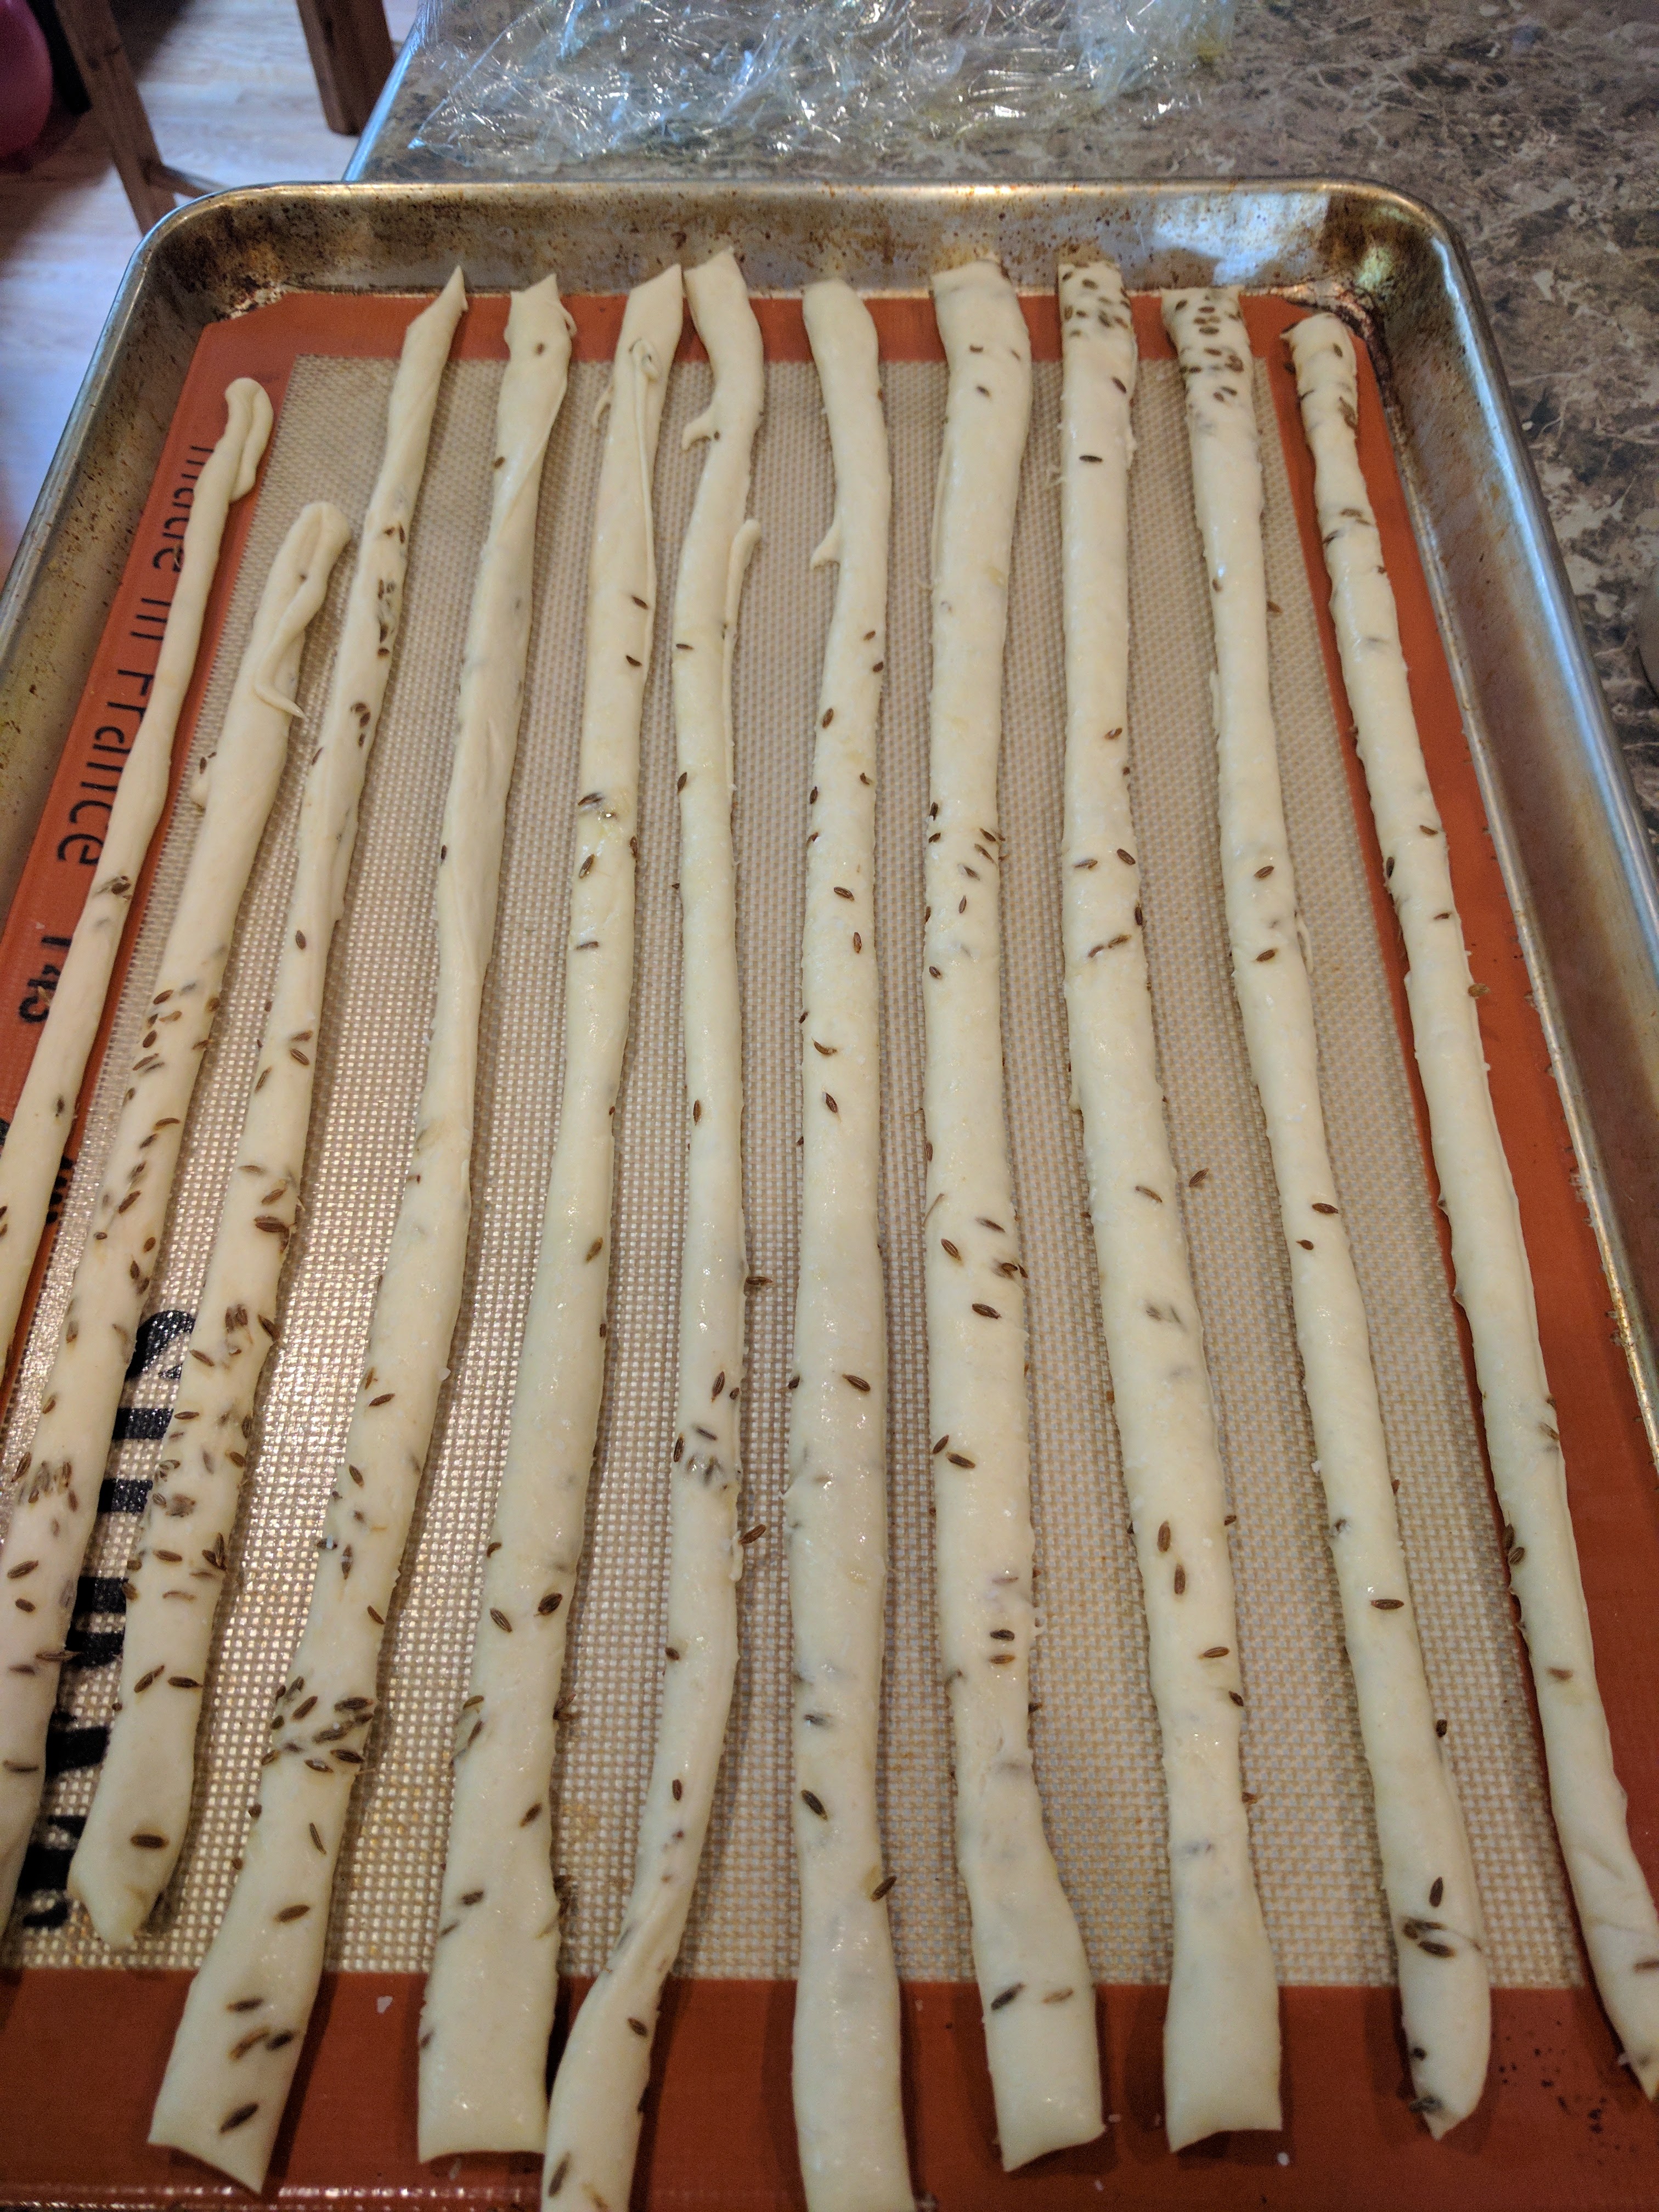
Paul’s mother used to make breadsticks once a week. Everytime we head to his parents house, he immediately goes to the designated corner in the kitchen to eat them. So when I found this recipe, I felt I hit the jackpot. These are incredibly easy and delicious. You can add different flavorings to the dough to make them to your liking. We like cumin seed breadsticks.
Breadsticks
2 1/4 cups bread flour
1/2 tsp kosher salt
2 1/4 tsp dry active yeast
2 tbsp olive oil
2/3 cup warm water
Cumin seeds
Add flour to a mixing bowl with salt and yeast. Heat up the water to 120°F and add to the flour mixture while mixing. I use my KitchenAid mixer with hook attachment. Add in olive oil while dough is coming together. Add in cumin seeds if you are using them. If the dough is still too dry, add in a little more water (1 – 2 tsp at a time). If the dough is too dry, add in a tablespoon of flour. The consistancy should be a soft ball that is smooth and not sticky.
Roll out on a silpat or parchment paper to about 15 inches by 12 inches. Brush with olive oil and cover with plastic wrap. Let rise for 30 minutes or until double in sized.
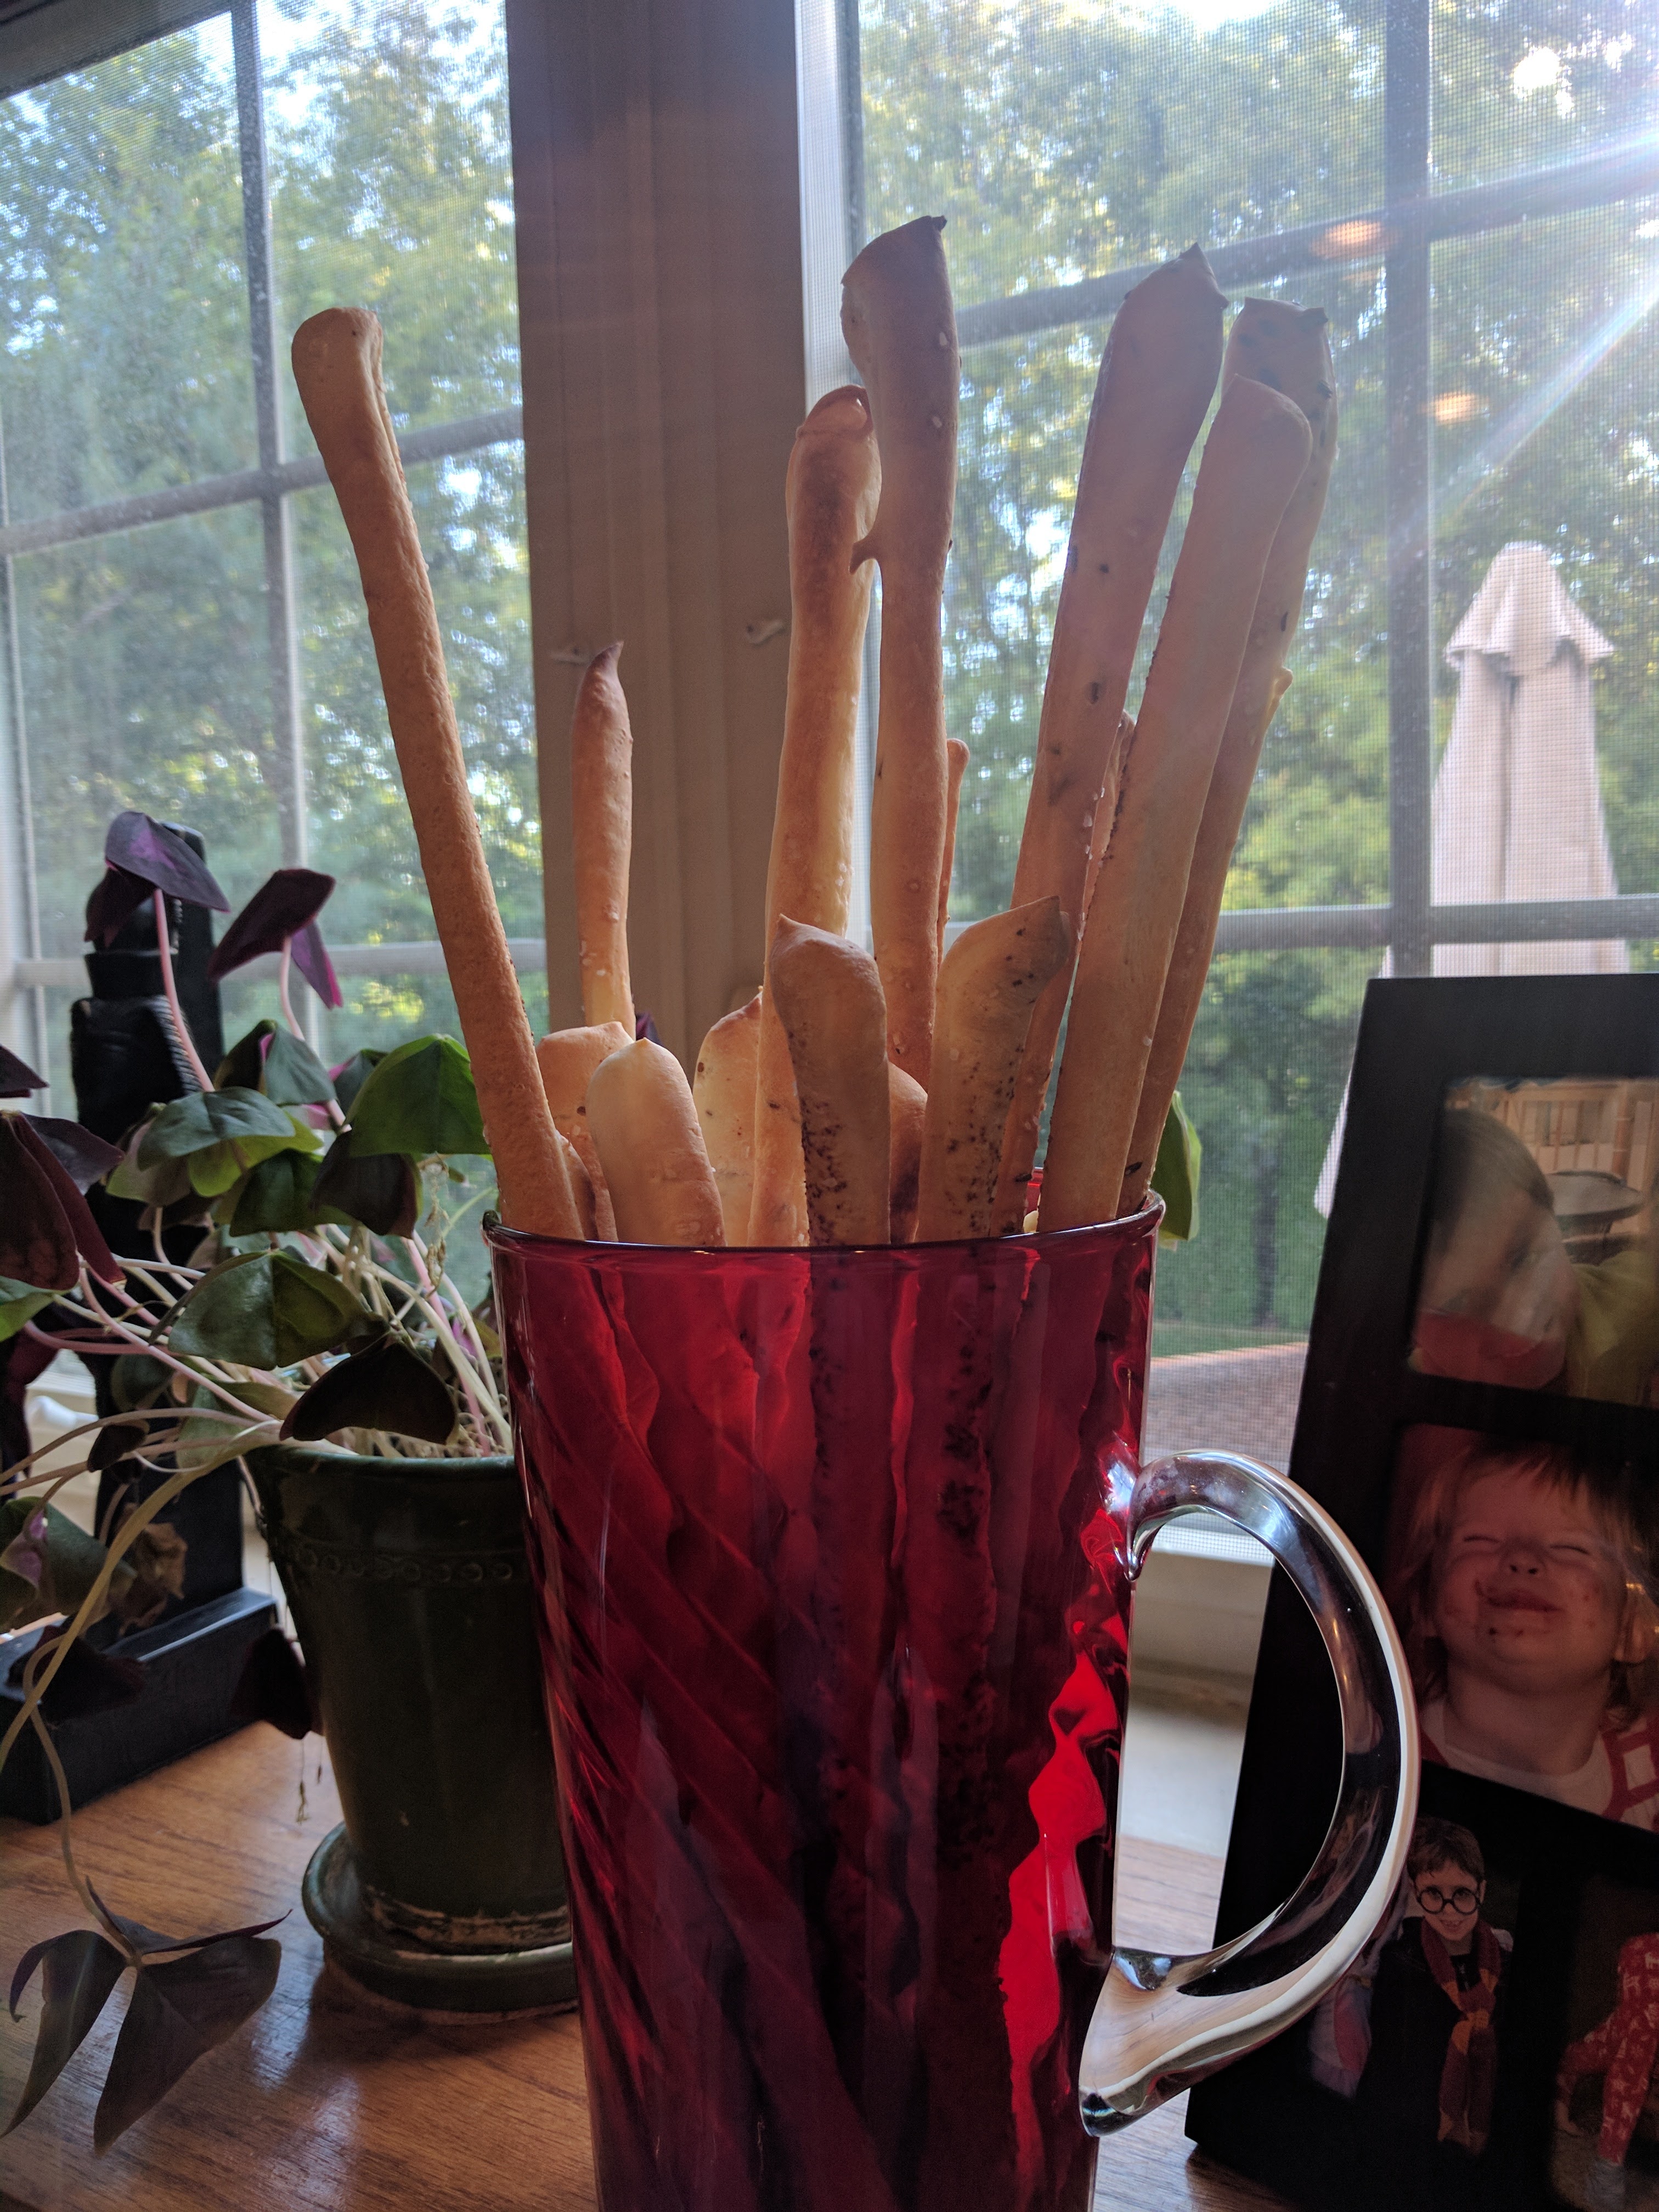
Preheat the oven to 400°F. Cut the dough in thin strips and place on another baking sheet spaced apart. Cook in oven for 15- 20 minutes until golden brown. Leave to dry and crisp on a cooling rack.
I keep mine in an open jar so we can snack on them throughout the week.
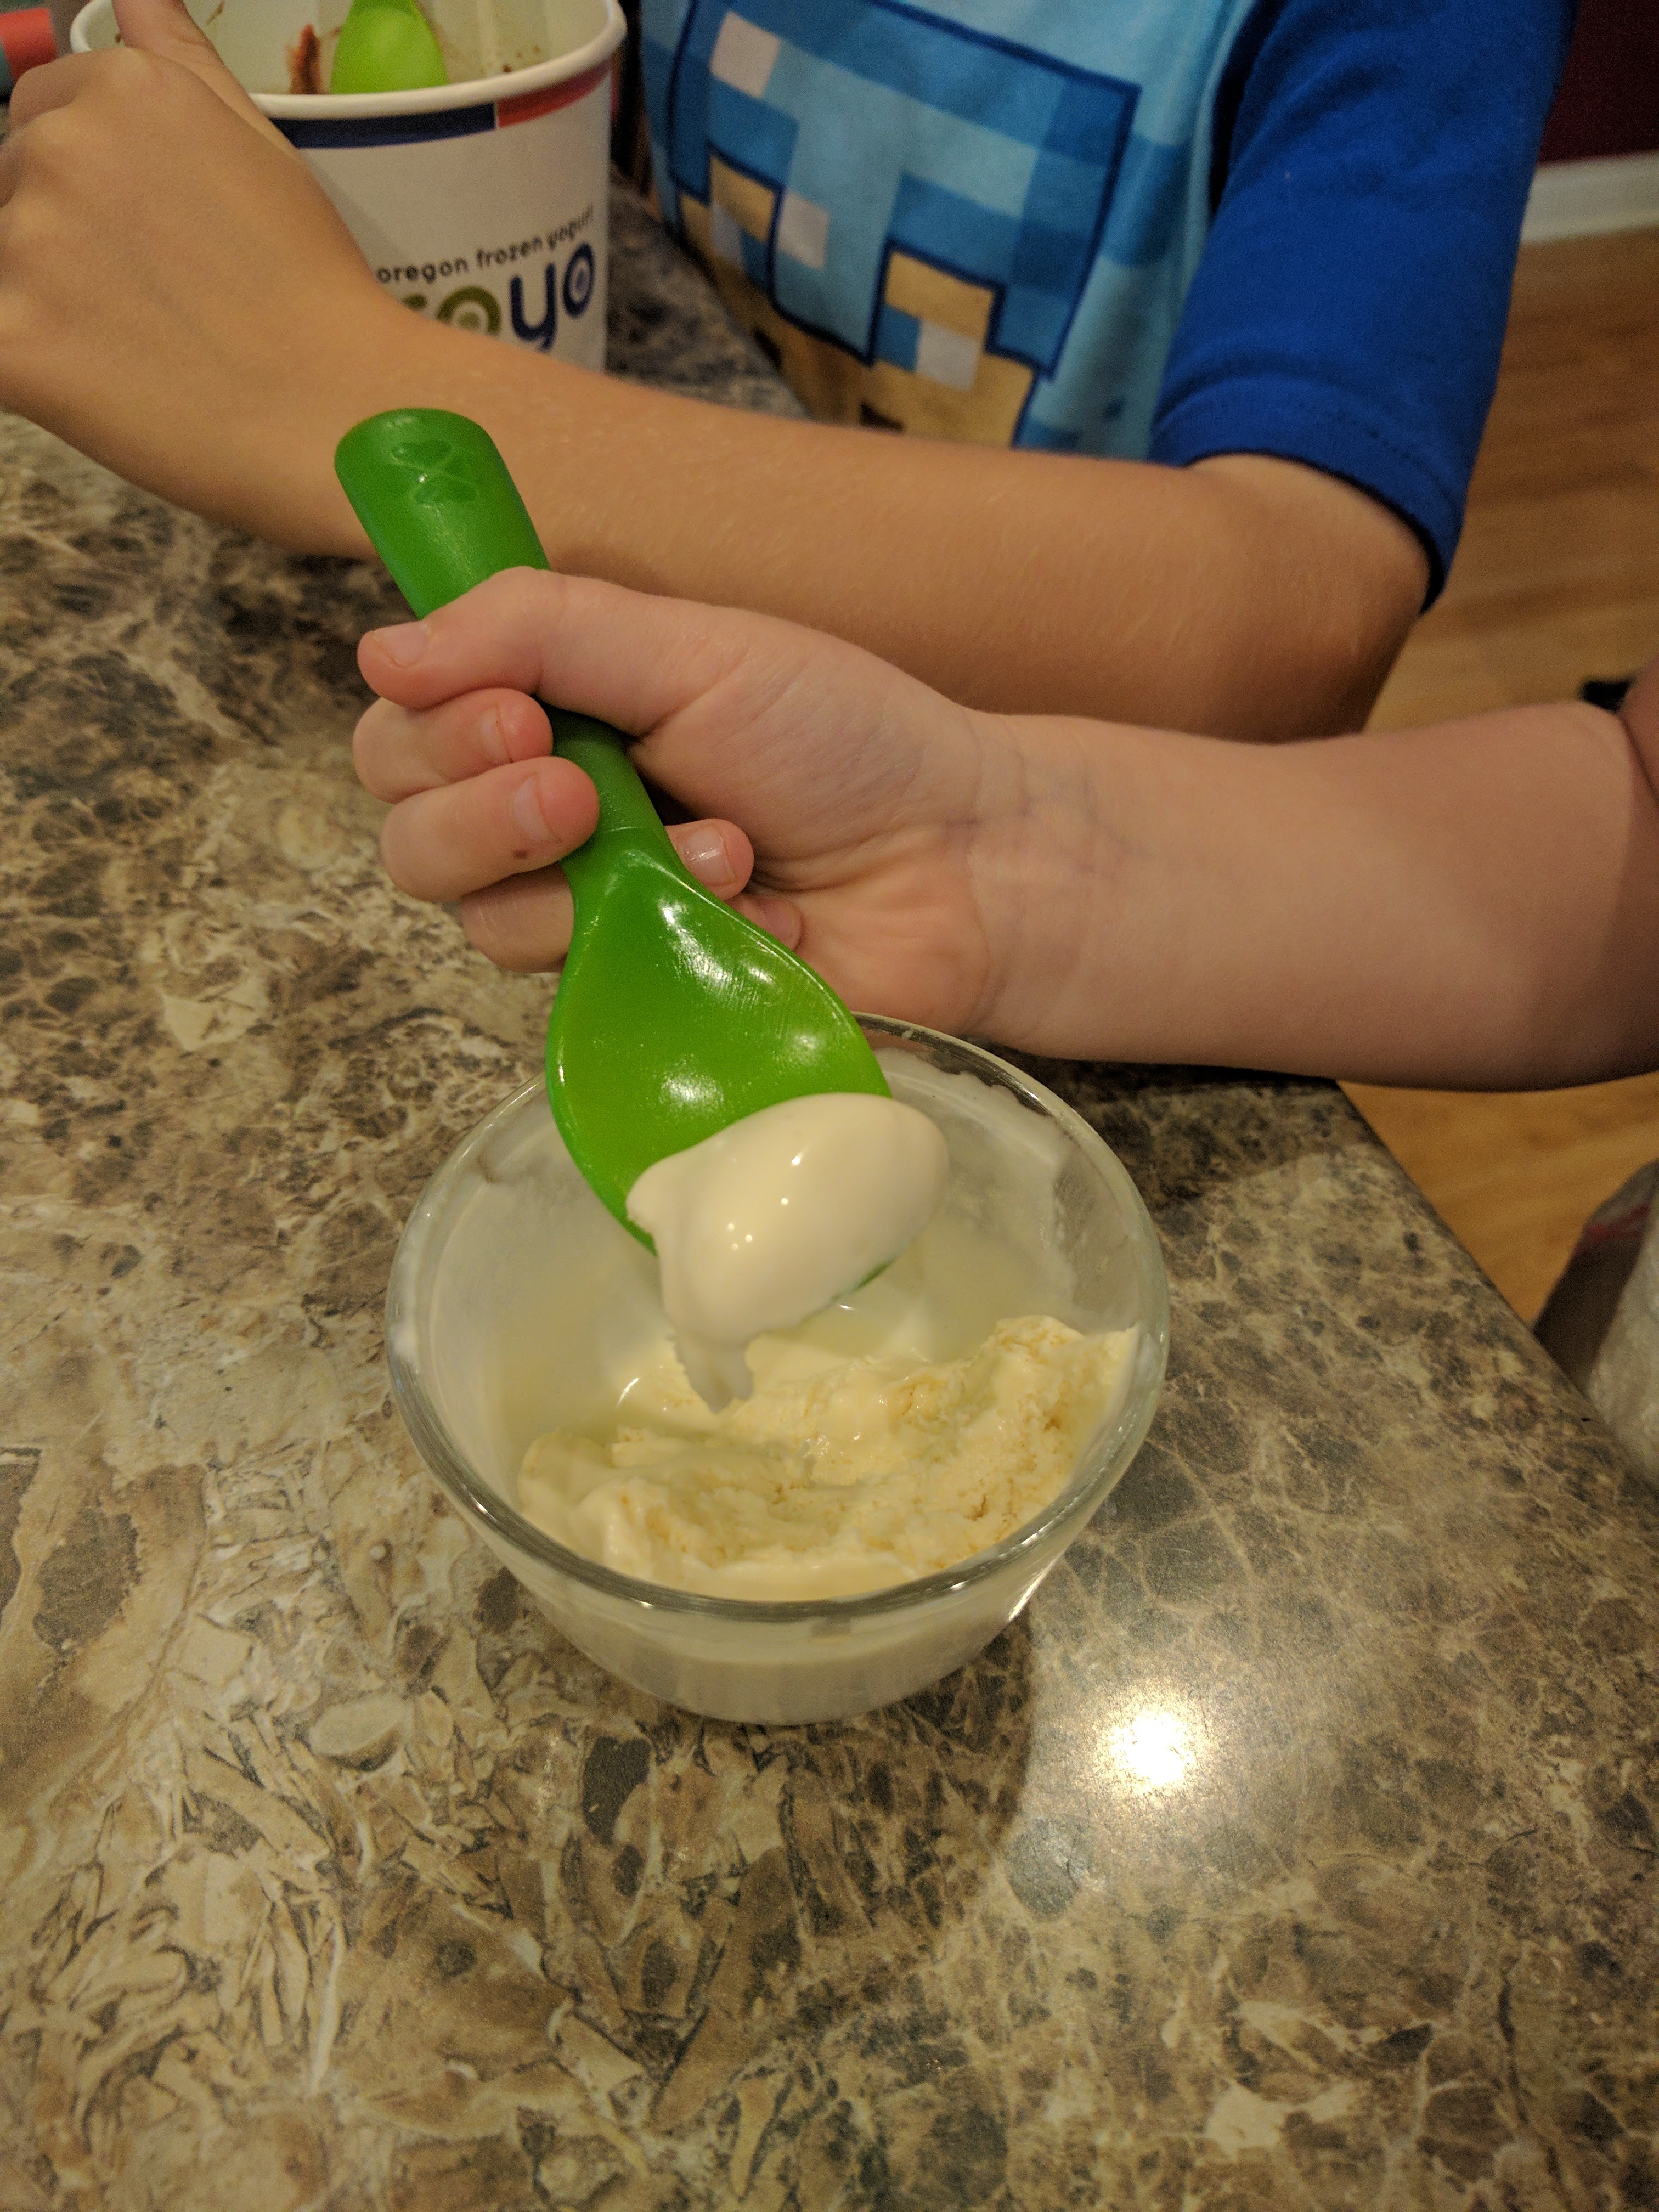
We were on vacation up north Wisconsin this summer and met a woman from New Zealand. She was very nice and shared not only stories but recipes with us as well. This ice cream recipe I would like to save and see how many different versions I can make.
I had never heard of these before and saw something on tv that a chef was making them. So here is my first try at these puppies.
Roman Style Gnocchi
3 cups 2%milk
1 cup semolina
1 tsp kosher salt
1 cup parmesan
4 egg yolks
2 tbsp butter
In a sauce pan, bring the milk, butter and salt to a simmer, just bubbling along the sides of the pan on medium low heat. Slowly add the semolina to the pan while whisking. Keep whisking until hard thickened. Switch to a wooden spoon and mix in 1/2 cup shredded parmesan. Take off of the heat and add one egg yolk at a time until all four have been mixed in thoroughly. With a half cup measuring cup – wet in between using to measure out the gnocchi onto a baking sheet. Transfer each gnocchi to a buttered baking dish layering. Sprinkle the remaining parmesan onto the gnocchi and bake at 400°F for 20 minutes or until browned.
I made a tomato sauce to serve over these. They were delicious.
We recently went out for dinner at a local restaurant in our little town. I saw this soup on the menu and decided to try it. I loved it. Here is my version.
Mulligatawny Soup
1 tsp olive oil
5 raw chicken breast or tender pieces, chopped into bite sized pieces
1 tbsp butter
2 tsp oil
2 onions, diced small
2 carrots, diced small
4 celery, diced small
4 garlic cloves, minced
4 cups vegetable stock
2 tbsp all purpose flour
1 tbsp curry powder (hot or mild)
1/2 tsp salt
1 pink lady apple, peeled and diced small
2 cups cooked brown basmati rice
1/2 cup coconut milk
Cilantro for garnish
Saute chicken cut into small pieces with 1 tsp olive oil until cooked through and transfer to a dish for later. Saute diced onions, carrots and celery with butter and remaining olive oil for 5 minutes or so. Add in garlic and saute one minute. Add in flour, curry powder and salt and stir together. Pour in 2 cups vegetable stock and let come to a boil. Once at a boil, add remaining stock and let simmer another 5 – 10 minutes. Add in apple and let cook another 2 minutes. Pour in coconut milk and stir together. Right before serving, add in basmati rice and stir well. Serve warm with cilantro for garnish.
We like spicy food so I used hot curry powder, but if you don’t like spicy food regular curry powder will work well. Enjoy!
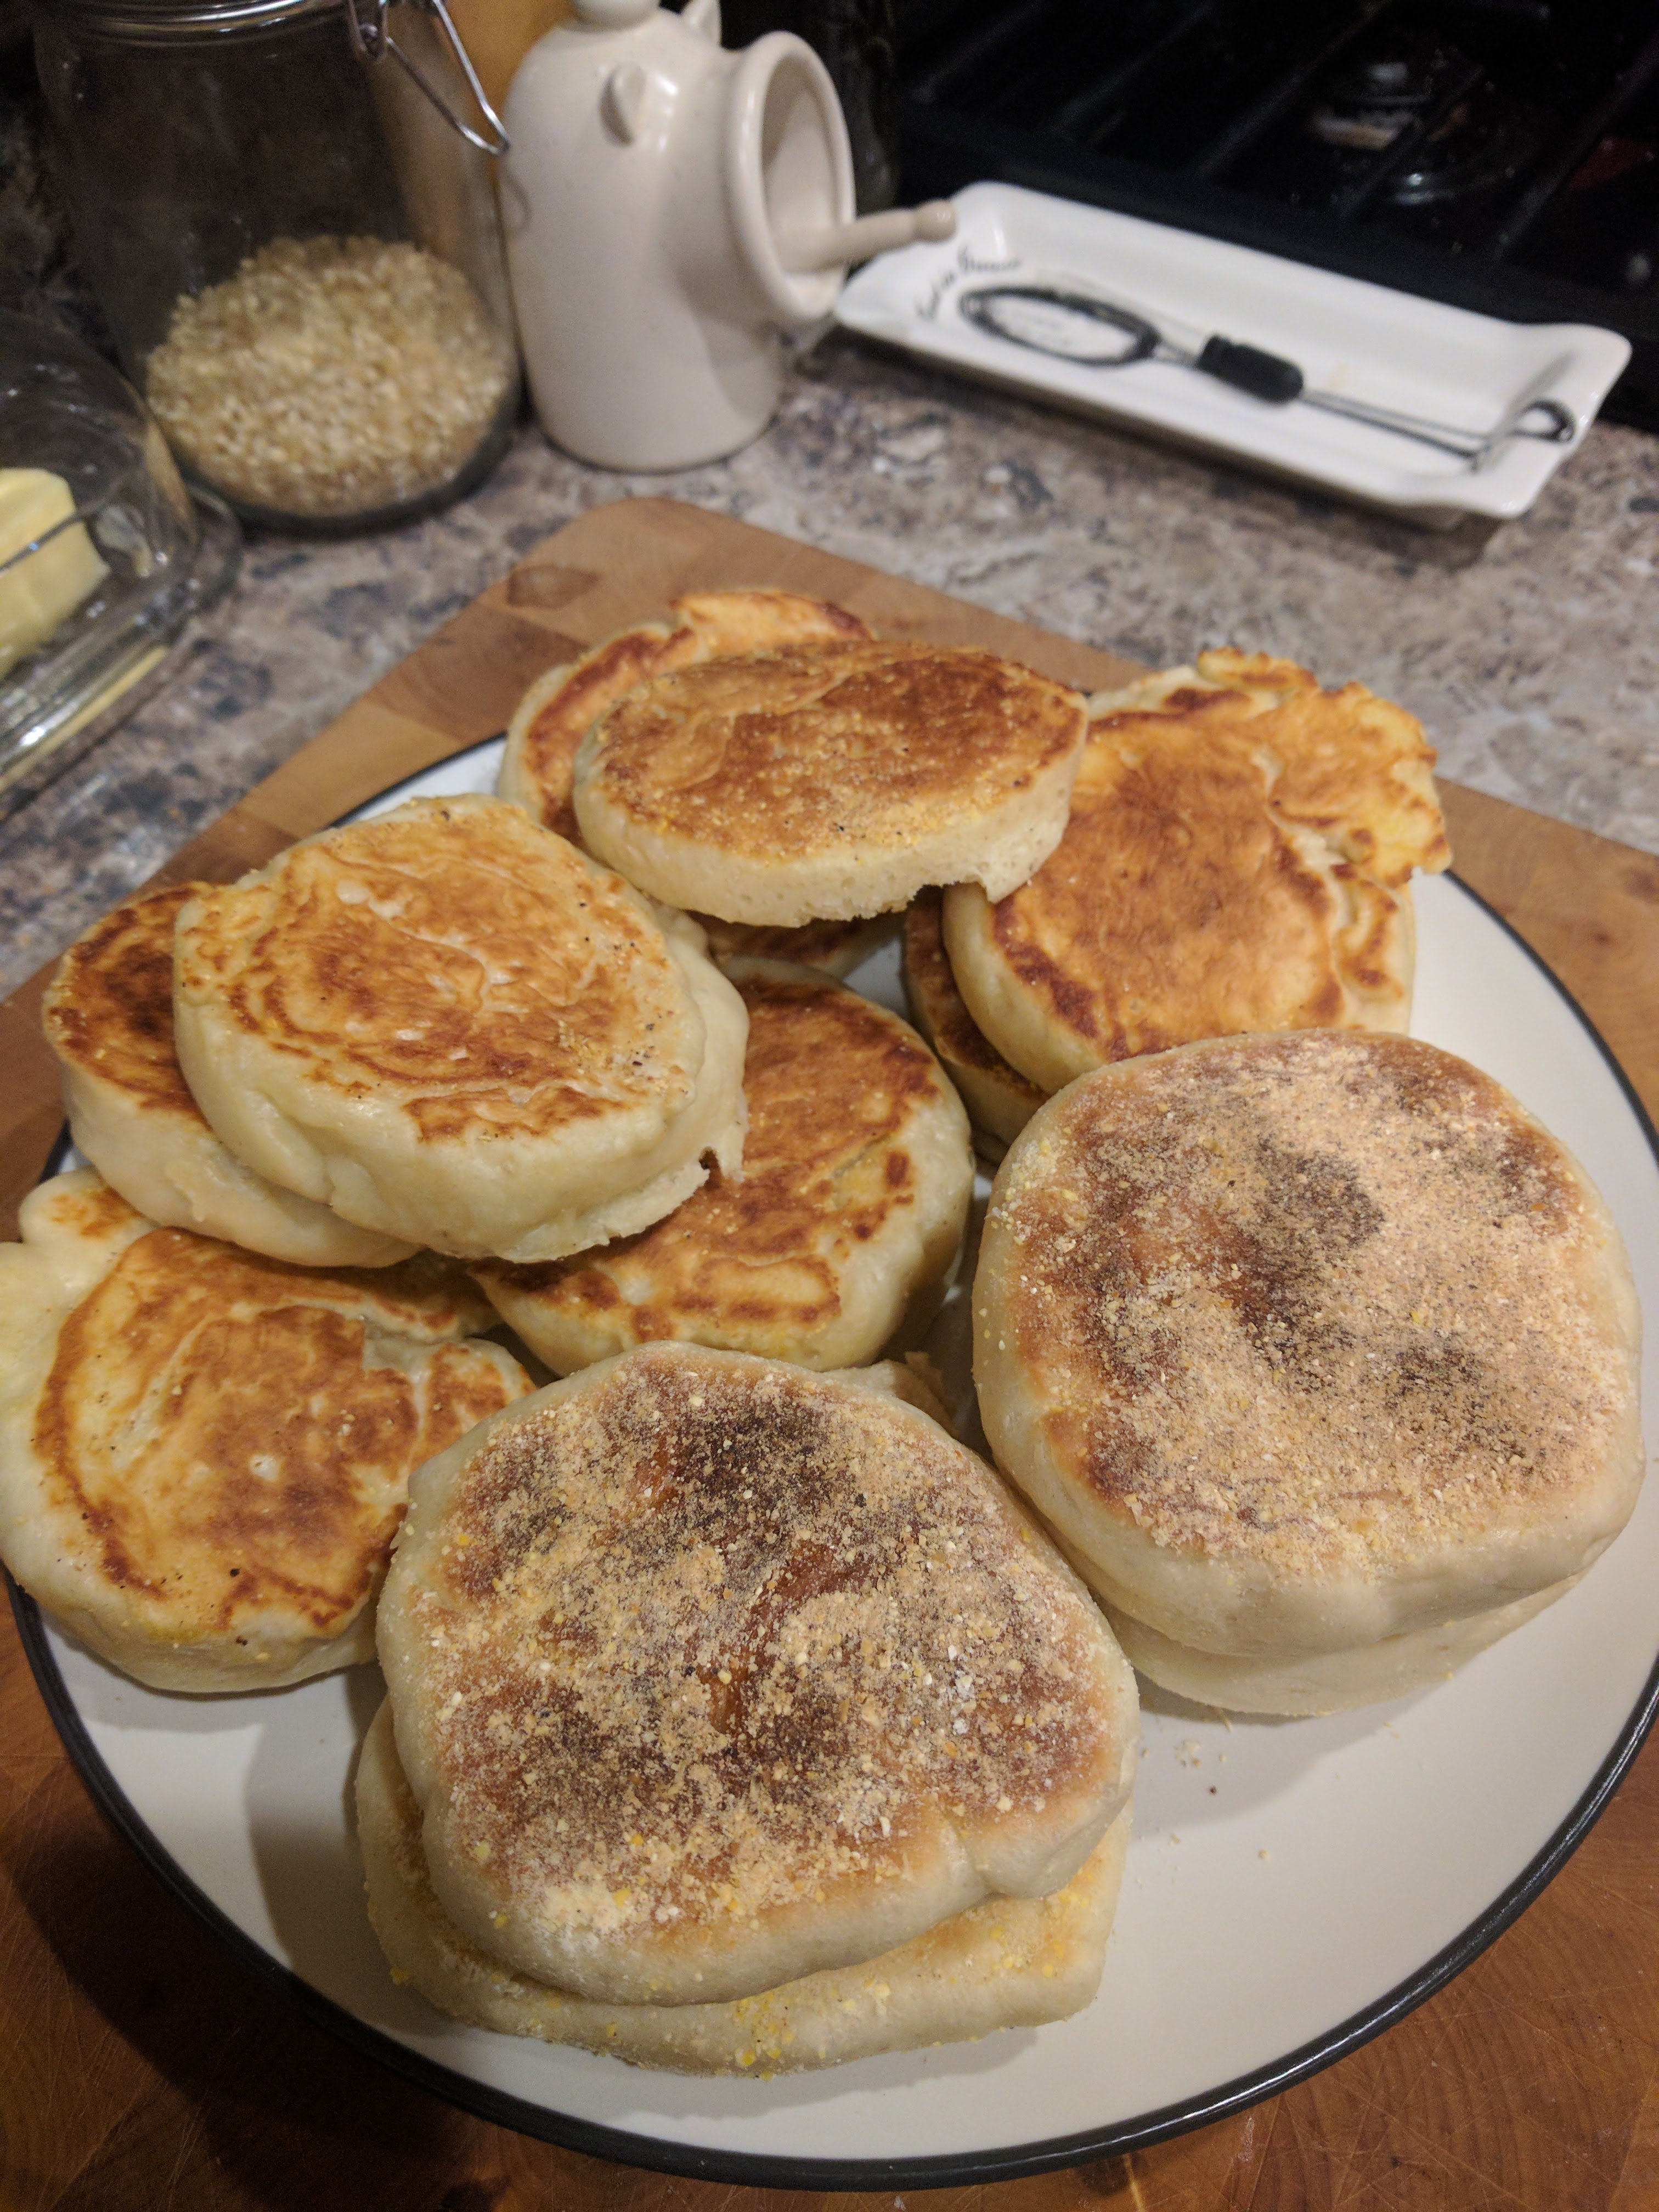
I decided to try out Alton Browns English Muffin recipe in comparison to my English Muffin recipe that I use from the Kitchn blog. I made my normal muffin recipe the night before and the new recipe in the morning and compared. The Fast English Muffins came out with lots of nooks and crannies and were great for a quick breakfast but were more like a crumpet since the dough was so soft. My normal muffins were more dense, less nooks and crannies but with more complex flavor. Depending on the time that I have, I will come back to both recipes.
Fast English Muffins
2 1/4 tsp dry active yeast
In a bowl, mix the powdered milk, 1 tablespoon of sugar, 1/2 teaspoon of salt, oil, and hot water. Stir until the sugar and salt are dissolved. Let cool. In a separate bowl, combine the yeast, 1/8 teaspoon of sugar and 1/3 cup of warm water and let rest until yeast has dissolved, about 10 minutes. Add to the dry milk mixture. Add the flour and beat thoroughly with wooden spoon. I didn’t use my kitchen aid and decided to do this by hand, using the wooden spoon as suggested. Cover the bowl and let it rest in a warm place for 30 minutes (which happened to be in my oven).
Preheat the griddle to 325°F. Place 8 english muffin rings on griddle. The recipe asked to add a remaining salt to mixture and beat. I happened to forget to do that, but will do it next time. I also don;t think that the griddle should be coated with vegetable spray, as it toasted the bottom rather than browned it. I would sprinkle the griddle with cornmeal instead. Scoop about 1/3 cup batter into each ring (it is really sticky) and split the remaining batter between the rings. It was hard to judge exactly how much should be used. Cover with a cookie sheet (greased so the batter doesn’t stick to the top) and cook for 5 minutes. Flip rings with a spatula and cook covered for another 5 minutes.
All together, they turned out pretty well and were much faster to make than my original recipe. I will try this recipe with a few modifications next time and report back on what happened. I am thinking of skipping the powdered milk and just using milk.
My love for soup is unending. I have been experimenting with my pressure cooker recently and switched my normal recipe into a quick version.
Pressure Cooker Kale & White Bean Soup
1 leek
2 celery stalks
5 carrots
3 cups vegetable stock
3 cups water
8 garlic cloves
8 chicken tenders or 4 chicken breasts, frozen (optional)
1 lb dry white beans
1/2 tsp salt
Bring to pressure and let stay there for 30 minutes. Set a timer. Release pressure. I pulled the chicken out so I could shred it, but it could be left in the soup as well.
Add in –
1 bunch chopped kale
1 inch chunk parmesan or 1/2 cup shredded parmesan
3 cups water
1 tbsp chicken stock base
Stir and let simmer for another 10 minutes. Serve. Season with salt and pepper to taste.
If the soup gets too thick, add a little more water.